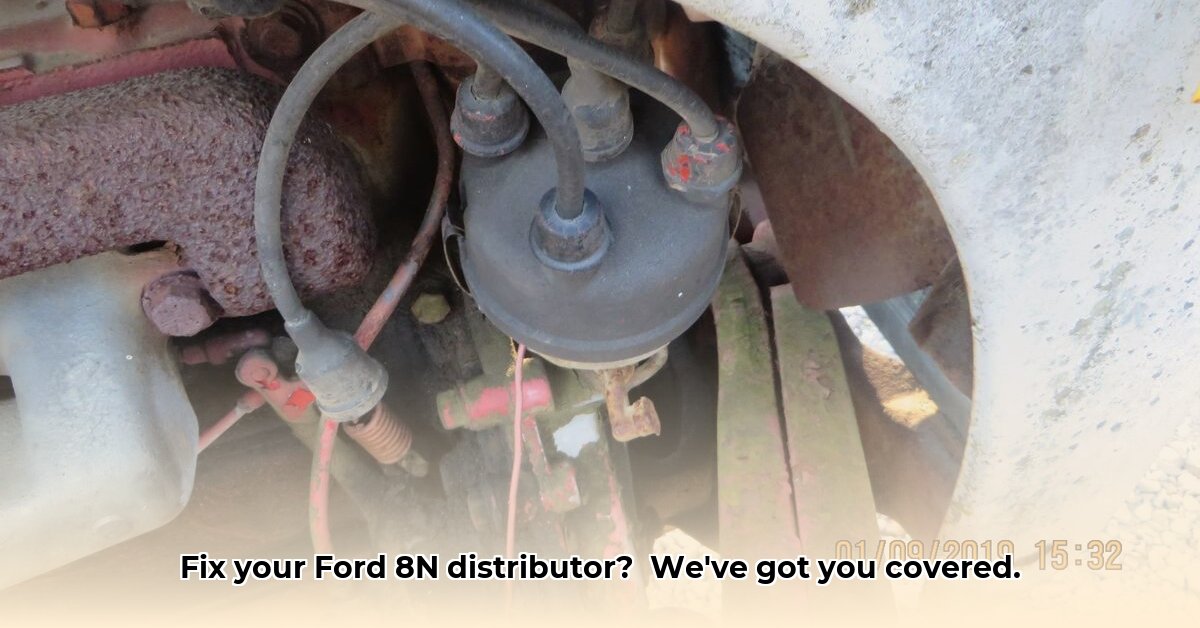
Identifying Your Ford 8N's Distributor: Front or Side Mount?
Before tackling repairs, determine your distributor type. This significantly impacts part selection. Tractors with serial numbers before 263843 have a front-mounted distributor; those after have a side-mounted one. Locate your tractor's serial number (usually on a plate) to identify the correct type. This simple step prevents future complications. For more detailed firing order information, check out this helpful resource: Ford 8N Firing Order.
Finding the Right Parts: OEM vs. Aftermarket
Once identified, source replacement parts. Original Equipment Manufacturer (OEM) parts, made by Ford, offer superior fit and reliability but command a higher price. Aftermarket options are cheaper but vary in quality. Thoroughly research reviews and specifications to ensure compatibility with your tractor's serial number and distributor type before purchasing.
Troubleshooting Your Ford 8N's Distributor: A Step-by-Step Guide
This section guides you through troubleshooting your Ford 8N's distributor. If you're uncomfortable working with electricity, consult a qualified mechanic. Safety is paramount.
1. Visual Inspection: Begin with a thorough visual examination. Look for loose wires, corrosion, cracks in the distributor cap, or worn components. Addressing these issues proactively can prevent future problems. A clean distributor is a happy distributor!
2. Ignition Coil Test: The ignition coil increases voltage to spark the plugs. Use a multimeter (available at most auto parts stores) to test its functionality. A faulty coil prevents sparking, requiring immediate attention.
3. Condenser Check: The condenser smooths electrical current, preventing arcing. A malfunctioning condenser leads to weak or irregular sparking. Your multimeter will again be your best friend.
4. Distributor Cap and Rotor Inspection: These components distribute high voltage to the spark plugs. Inspect for cracks or carbon buildup, indicating replacement needs.
5. Points Inspection and Adjustment (Older Models): If your 8N uses points (older models), check and adjust the gap regularly using a feeler gauge and screwdriver. Incorrect adjustment compromises engine performance.
6. Test Light Usage: Employ a test light to trace electricity flow through the distributor circuit. This helps pinpoint sources of electrical failure.
7. Ignition Timing Adjustment (Advanced): Adjusting ignition timing requires specialized tools and expertise. Incorrect adjustment can damage your engine. Consult a mechanic if unsure. (Note: This step is best left to experienced mechanics.)
Upgrading to 12V: A Popular Modification
Many upgrade their 8Ns to 12V for enhanced starting and alternator performance. This is a more extensive project than simply replacing the distributor and involves substantial rewiring. Conversion kits are available, but electrical experience is beneficial, or professional assistance is recommended.
How to Convert a Ford 8N Tractor Distributor to 12V
This upgrade enhances your entire electrical system, not just the distributor. A 12V system improves starting and alternator performance. The distributor itself isn't replaced but must be compatible with the new voltage.
Understanding the Conversion
Converting to 12V involves replacing the entire electrical system; the distributor isn't directly modified. It's similar to upgrading a home's electrical grid, requiring a new power source but keeping existing light switches (analogous to your distributor) operational.
Essential Components
The 12V conversion needs these components:
- 12V Alternator: Choose a one-wire (simpler) or three-wire (better performance) alternator.
- 12V Starter Motor: Highly recommended for reliable starts (a 6V starter can work but reduces lifespan).
- 12V Battery: A new battery is essential.
- Wiring Harness: Modifying or replacing the harness might be needed.
- Ballast Resistor: Protects the ignition coil from voltage spikes.
- New Pulley (possibly): The alternator pulley might differ in size from the generator pulley.
Step-by-Step Conversion
- Disconnect Battery: Disconnect the negative terminal for safety.
- Remove Old Generator/Alternator: Remove belts and mounting bolts.
- Install 12V Alternator: Mount carefully, ensuring proper alignment.
- Wire the Alternator: Follow a wiring diagram specific to your model. This is crucial.
- Install 12V Starter: Install securely.
- Wire the Starter: Connect to the battery and ignition switch accurately.
- Install Ballast Resistor: This protects the ignition coil.
- Reconnect Battery: Double-check all connections.
- Test System: Start the engine, verifying charging and starting performance.
Troubleshooting the Conversion
If issues occur (engine doesn't start or charging is faulty):
- Check all connections for looseness; this is the most frequent problem.
- Review your alternator's wiring diagram; double-check all steps.
- Verify battery charge and secure all connections.
Remember, consult a wiring diagram specific to your alternator and starter motor for accurate wiring. Improper wiring can cause serious damage.